HAWX / PEST LIBRARY
HAWX / PEST LIBRARY
Tick Facts &
Information
Hawx is always reliable. Always innovative.
Get Tick Help: (855) 739-0061
OVERVIEW
Understanding Tick Activity Around the Home
Ticks may be small, but the problems they can cause certainly aren't. These tiny bugs are parasites that latch onto people and pets and can spread serious illnesses to both. Fortunately, with a little know-how and proper precautions, you can keep your home tick-free and your loved ones—including your pets—safe as they enjoy the outdoors on your property.
Let's take a closer look ticks and what you can do to keep them in check.

Seeing Tick Activity?
Schedule your pest appointment by calling (855) 739-0061. We serve several states, look up your local branch here.
Call Hawx TodayIdentification
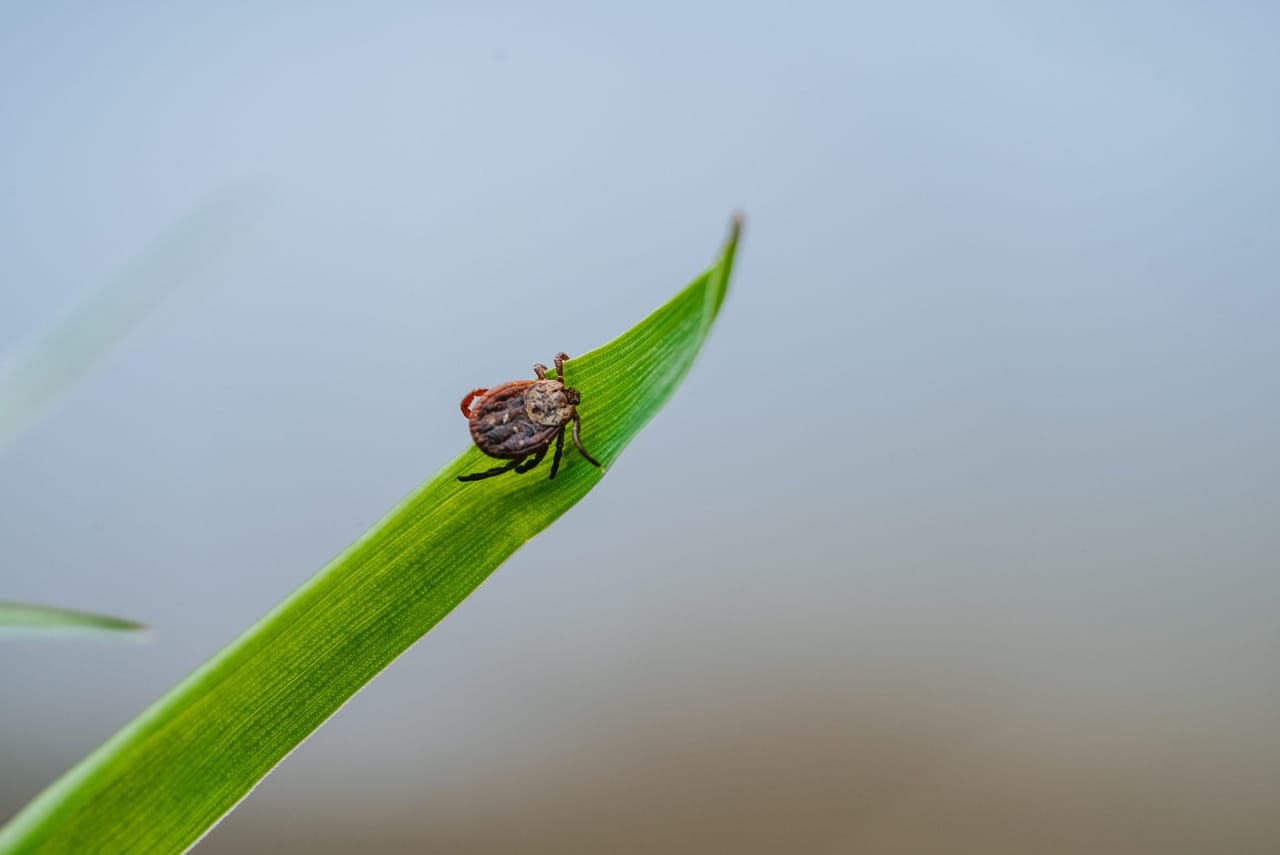
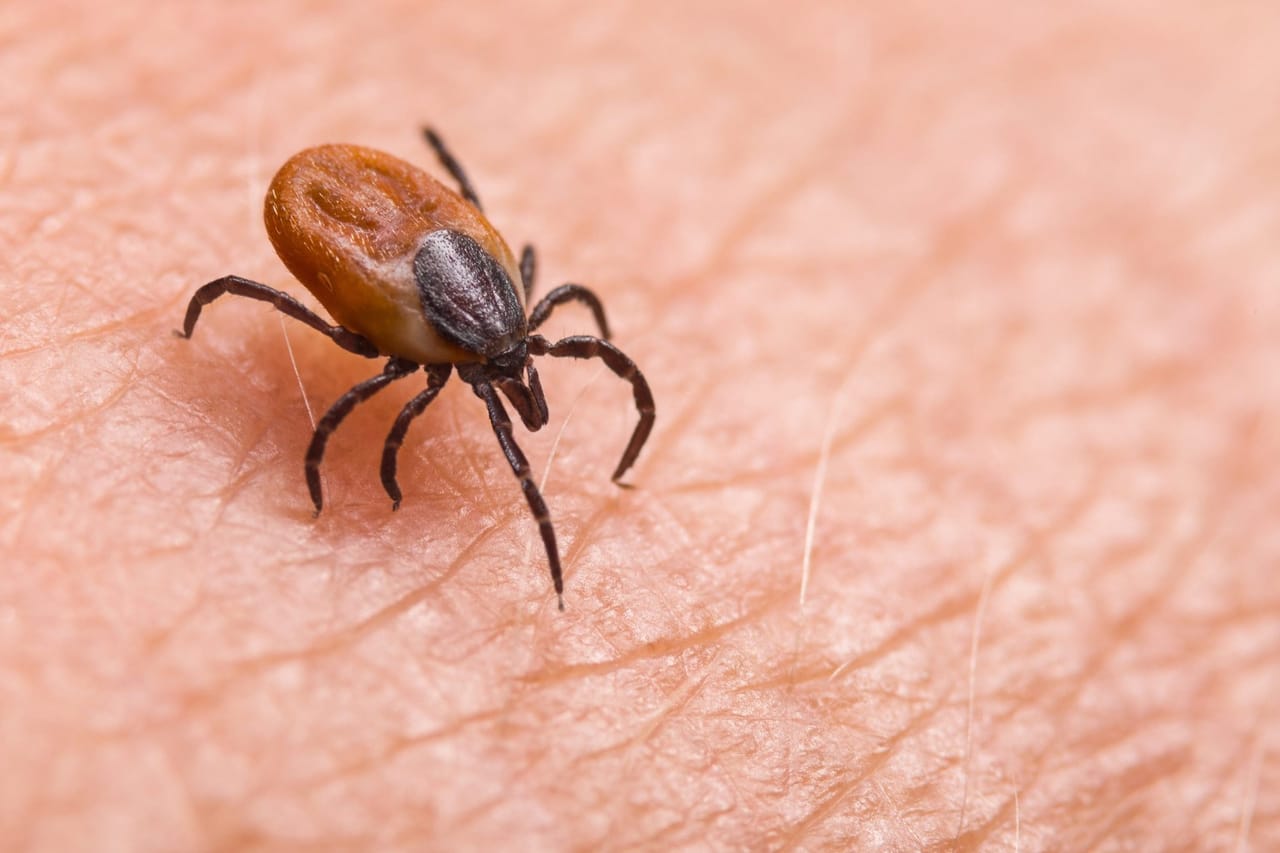
What Do Ticks Look Like?
Ticks are small and easy to miss, especially before feeding.
Ticks are flat, oval-shaped arachnids with eight legs. They range in color from brown to black and can swell significantly after feeding, making them more noticeable. Because ticks change appearance as they feed, identification can vary depending on when they're found.

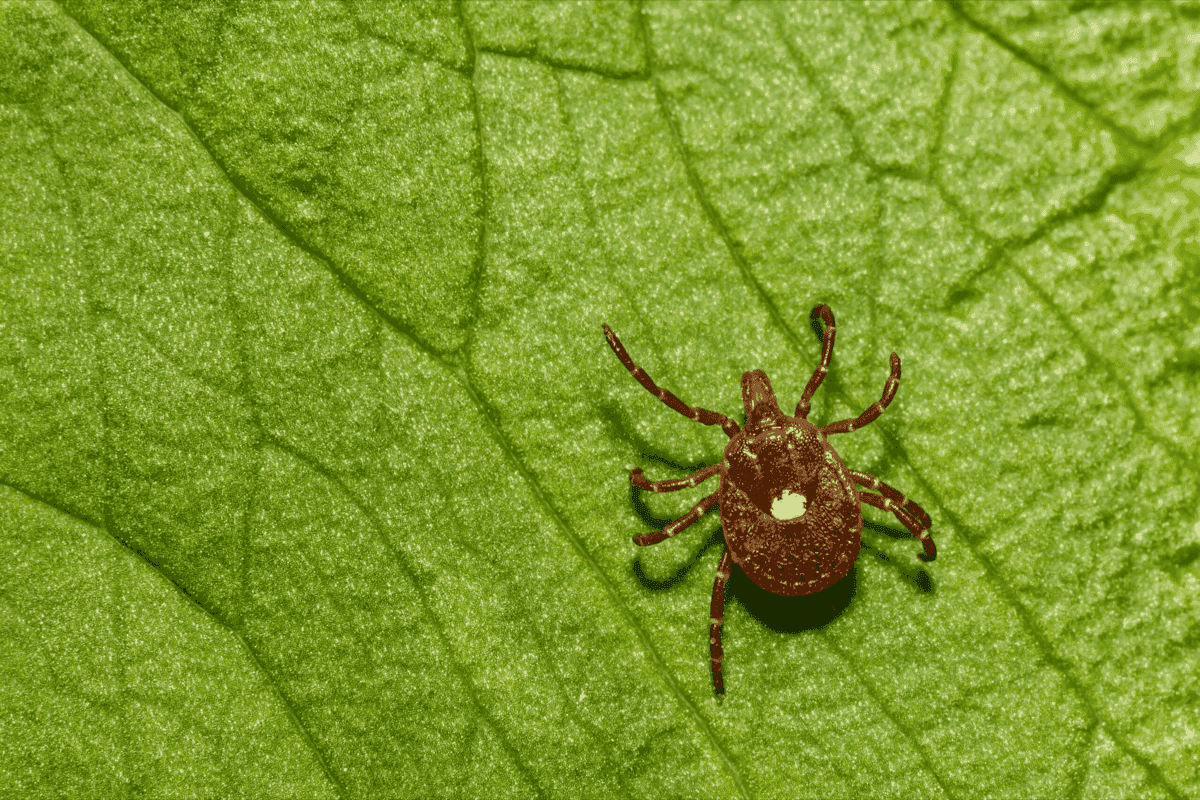
COMMON TYPES
Tick Identification
Here's a fact you may not know: Ticks aren't insects—they're arachnids, which means they're related to spiders and mites. They have eight legs, a flat, oval body that plumps up when they feed, and they're usually found in tall grass, leaf litter, or wooded areas. A few ticks you may come across include:
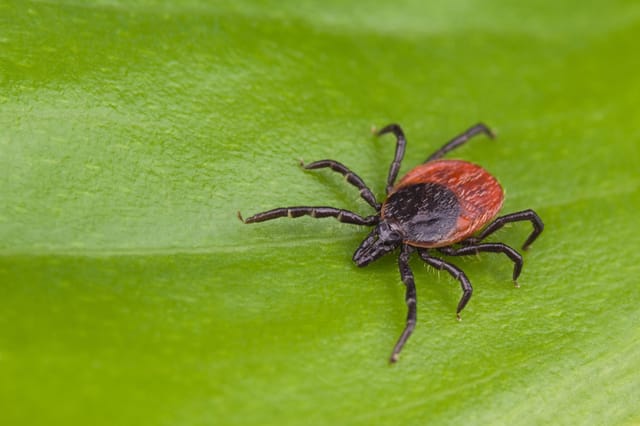
Blacklegged (Deer) Tick
A major carrier of Lyme disease.
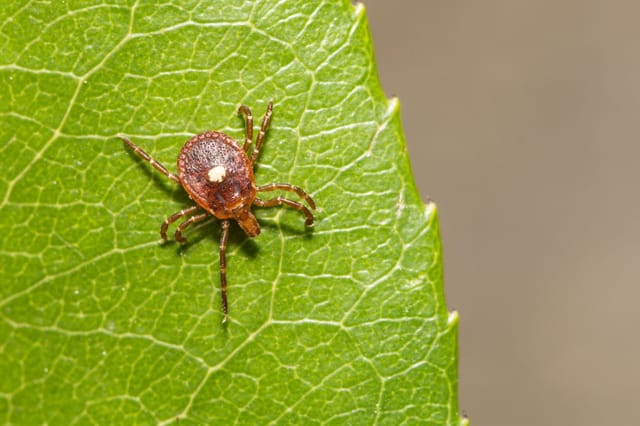
American Dog Tick:
Known for transmitting Rocky Mountain spotted fever and Tularemia.
Lone Star Tick
An aggressive species often found in wooded spots, also capable of spreading Rocky Mountain spotted fever, Tularemia, and Ehrlichiosis.

Dangers
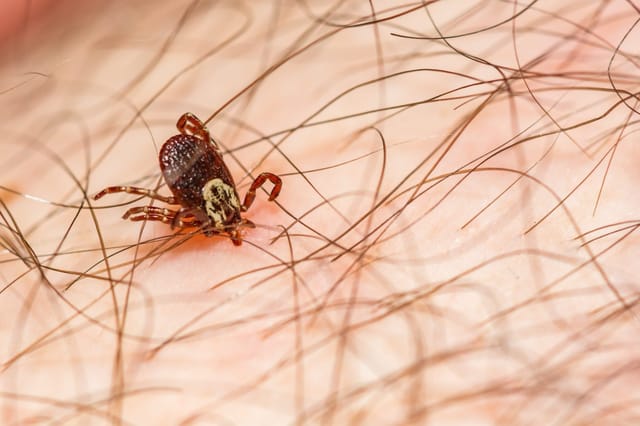
The Dangers of Tick Bites
Ticks are far more than a nuisance—one bite from the wrong tick can pass on multiple diseases. Lyme disease, Rocky Mountain spotted fever, Anaplasmosis, Ehrlichiosis, Tularemia, and Powassan virus are some of the more common illnesses linked to tick bites in the U.S.
Many of these diseases have overlapping symptoms like fever, rash, headache, and fatigue—sometimes with more serious issues such as muscle aches or even temporary paralysis. If you do find a tick attached to you or your pet, remove it as fast as possible to lower the risk of infection.
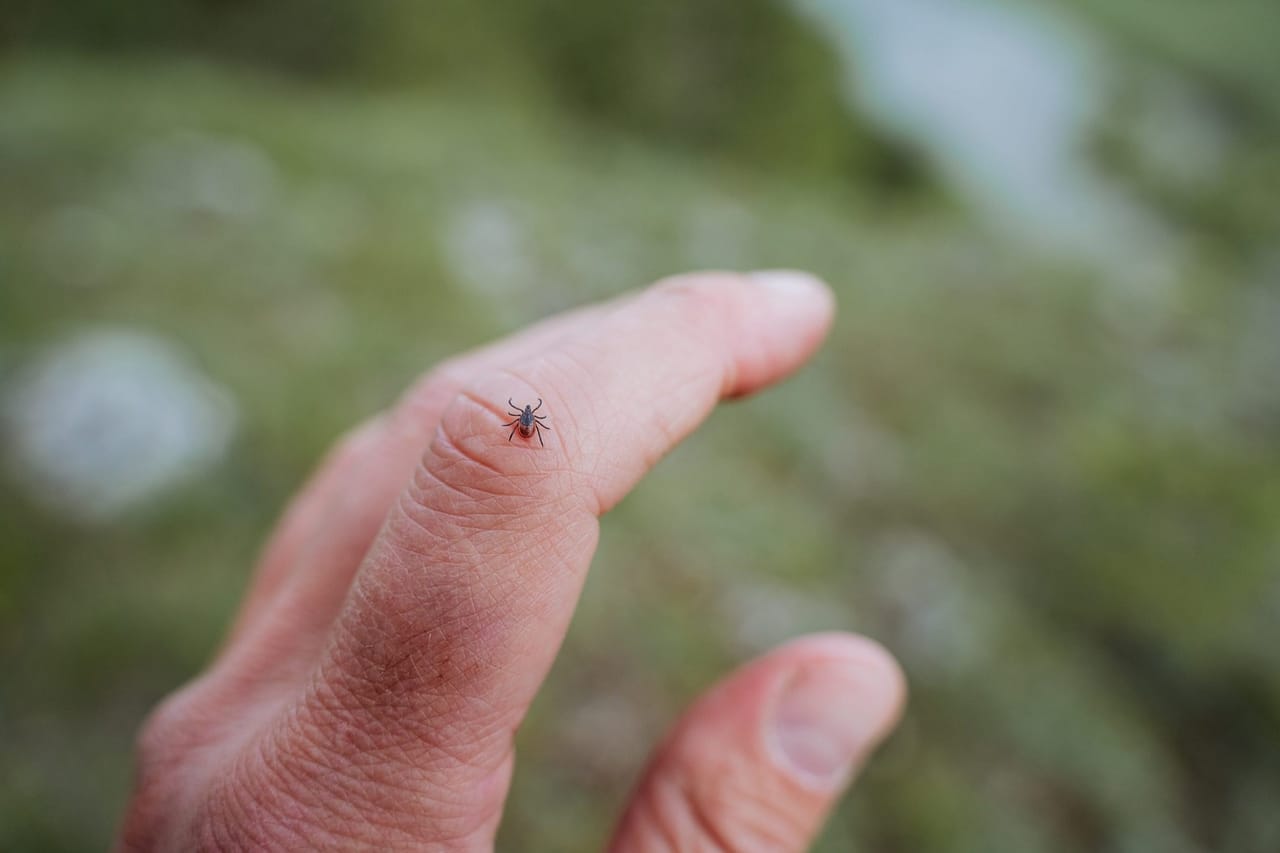
Avoiding ticks
How to Avoid Ticks
Ticks prefer environments with tall grass, dense shrubs, or piles of leaves. When spending time in areas that could have ticks, wear long sleeves, pants, and closed-toe shoes to reduce the chance of encountering them. It also helps to tuck your pants into your socks.
Clothing is just one aspect. Consider using an EPA-registered repellent containing DEET, picaridin, or oil of lemon eucalyptus on any exposed skin. Once you're back indoors, do a thorough tick check on yourself, your kids, and your pets—especially around the ears, neck, armpits, and other warmer spots where ticks like to hide. If you have a pet, talk with your vet about the best tick prevention products and check them carefully after each outing.
Keeping your yard less inviting to ticks also makes a huge difference. Mow the grass, trim back shrubs, and remove leaf litter. You can even create a barrier of gravel or wood chips around the perimeter of your lawn to discourage ticks from migrating in.
Tick Inside the home
What to Do If Your Pet Brings Ticks Inside
Pets that love exploring the outdoors might come home with one or even several ticks attached to their body. Regular tick checks on your furry friends are essential - pay special attention around their ears, neck, and paws. If you discover a tick, remove it promptly with a pair of tweezers, grasping it close to the skin and pulling straight out.
Avoidance may sometimes be the safest tactic. Minimizing your pets' contact with tall grass or wooded areas can help keep ticks off your pets in the first place.
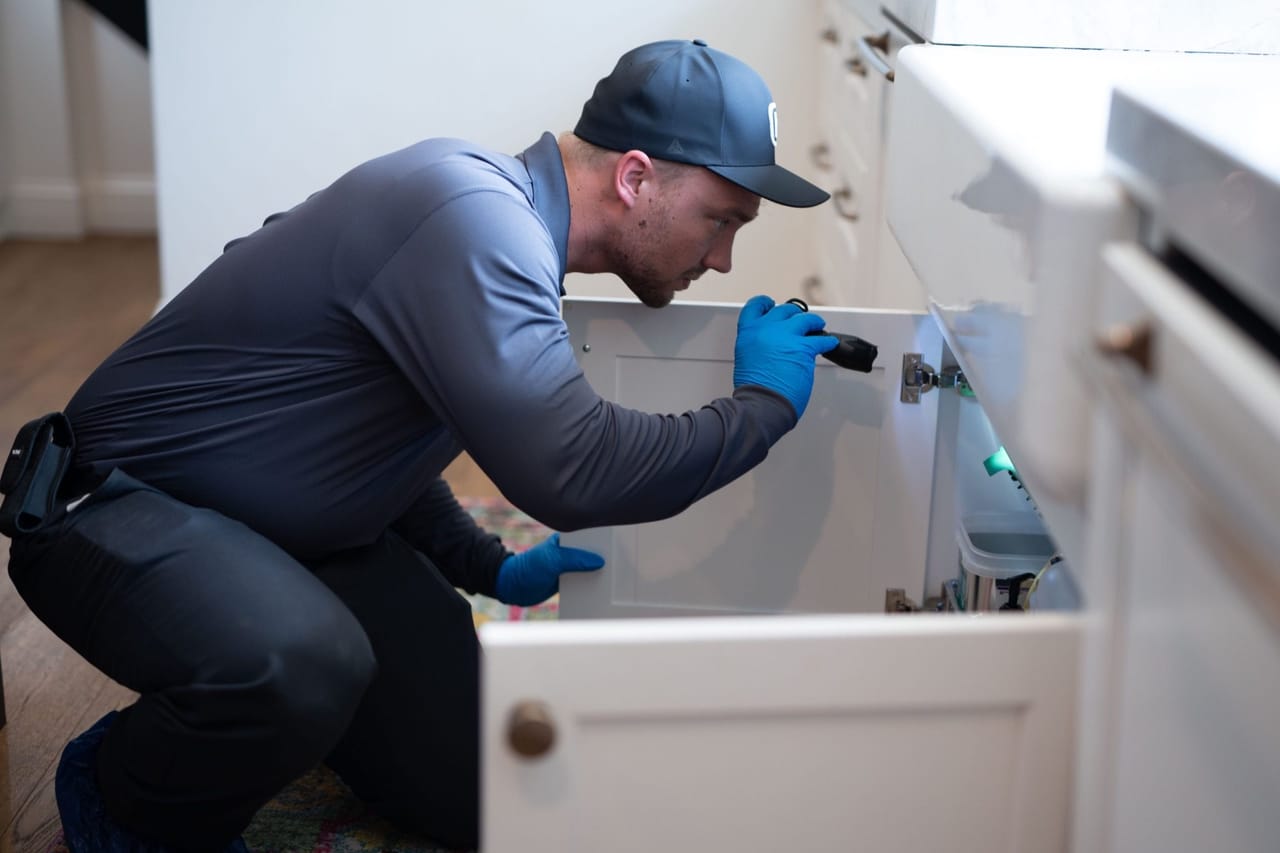
Hawx is Ready to Handle Your Tick Problem
Sometimes you need more than DIY methods to keep ticks at bay. Ticks can thrive in areas just outside your home, so if you have pets or spend plenty of time outdoors, you need to treat your property to minimize the risk of ticks.
Let Hawx handle the job with thorough, targeted treatments that address ticks at every stage of their life cycle. We customize a plan for your property by starting with a comprehensive inspection, then applying treatments around your home's perimeter. This approach not only eliminates ticks you already have, but also helps keep new ones from settling in.
Contact Hawx Pest Control today to schedule your inspection and get a personalized plan. You'll enjoy peace of mind knowing you have a reliable barrier against ticks, helping you, your family, and your pets stay comfortable and safe on your property all season long.
Get $350 Off Tick Service
Stop the invasion; call hawx pest control today!
To Learn More About Our Home Pest Control Or Commercial Pest Control Services, Please Reach Out To Hawx Pest Control today!
Call Now — Get Answers FastMORE ON Ticks
Want to Learn More About Ticks?
Browse tick-related articles and insights from our blog.
5-STAR PEST CONTROL
Top-Rated Local Pest Control
Hannah M
Janaury, 2026
Jaylen was wonderful! He took extra care around our plants, texted before arrival so we could put away the dogs, and was extremely knowledgeable and caring about his craft. He was able to answer a few additional questions we had swiftly and with a smile. 100% recommend!
Jessica B
December, 2025
Maggie was very professional and communicated to me the work that was done around my home. Excellent service and I haven’t been seeing any bugs in my house since we started services with Hawk.
Swakin R
August, 2025
Had a great experience with Hawx Pest Control. Eric, our technician, was fantastic—very professional, polite, and thorough. He explained everything clearly and made sure we were comfortable with the process. You can tell he really cares about doing a good job. Highly recommend Eric and the Hawx team!
Ken S
Janaury 21, 2026
Steve, was polite, courteous and punctual. I appreciated the communication. Hawx has been very consistent in delivering great service to my home over the years. I have no complaints or concerns. Thank you Steve.
Janie L
September 30, 2025
I've been with Hawx for a few years. They have great customer service. I didn't like that the price went up and got charged without my being notified but I discussed that with them once I realized my auto charge was increased. The current technician I've been getting is Jose. He's pretty responsive and serviced specific areas I needed/requested
Destiny G
November 18, 2025
I called Hawx to service my apartment after my building manager could not get to me quicker. Hawx arrived early next morning. Chris came and did a very thorough job. I highly recommend this service!
